In this article, I’m going to show you how to get started with the Ubiquiti UniFi system. I’m going to go over the equipment that I’m installing for my home network. Instead of using a Cloud key to configure the equipment, I’m going to show you how to install the UniFi Controller in a Linux machine. Besides that, I’m also going to go over some basic settings like:
- Configuring the WiFi connection
- MAC filtering
- IP address reservation
- DNS configuration
- Backup/Restore the UniFi controller
This is going to be part 1 of a series of tutorials that I want to make for the UniFi network. The next article will be about VLANs and Firewall rules. So, definitely stay tuned for that.
Table of Contents
Equipment needed
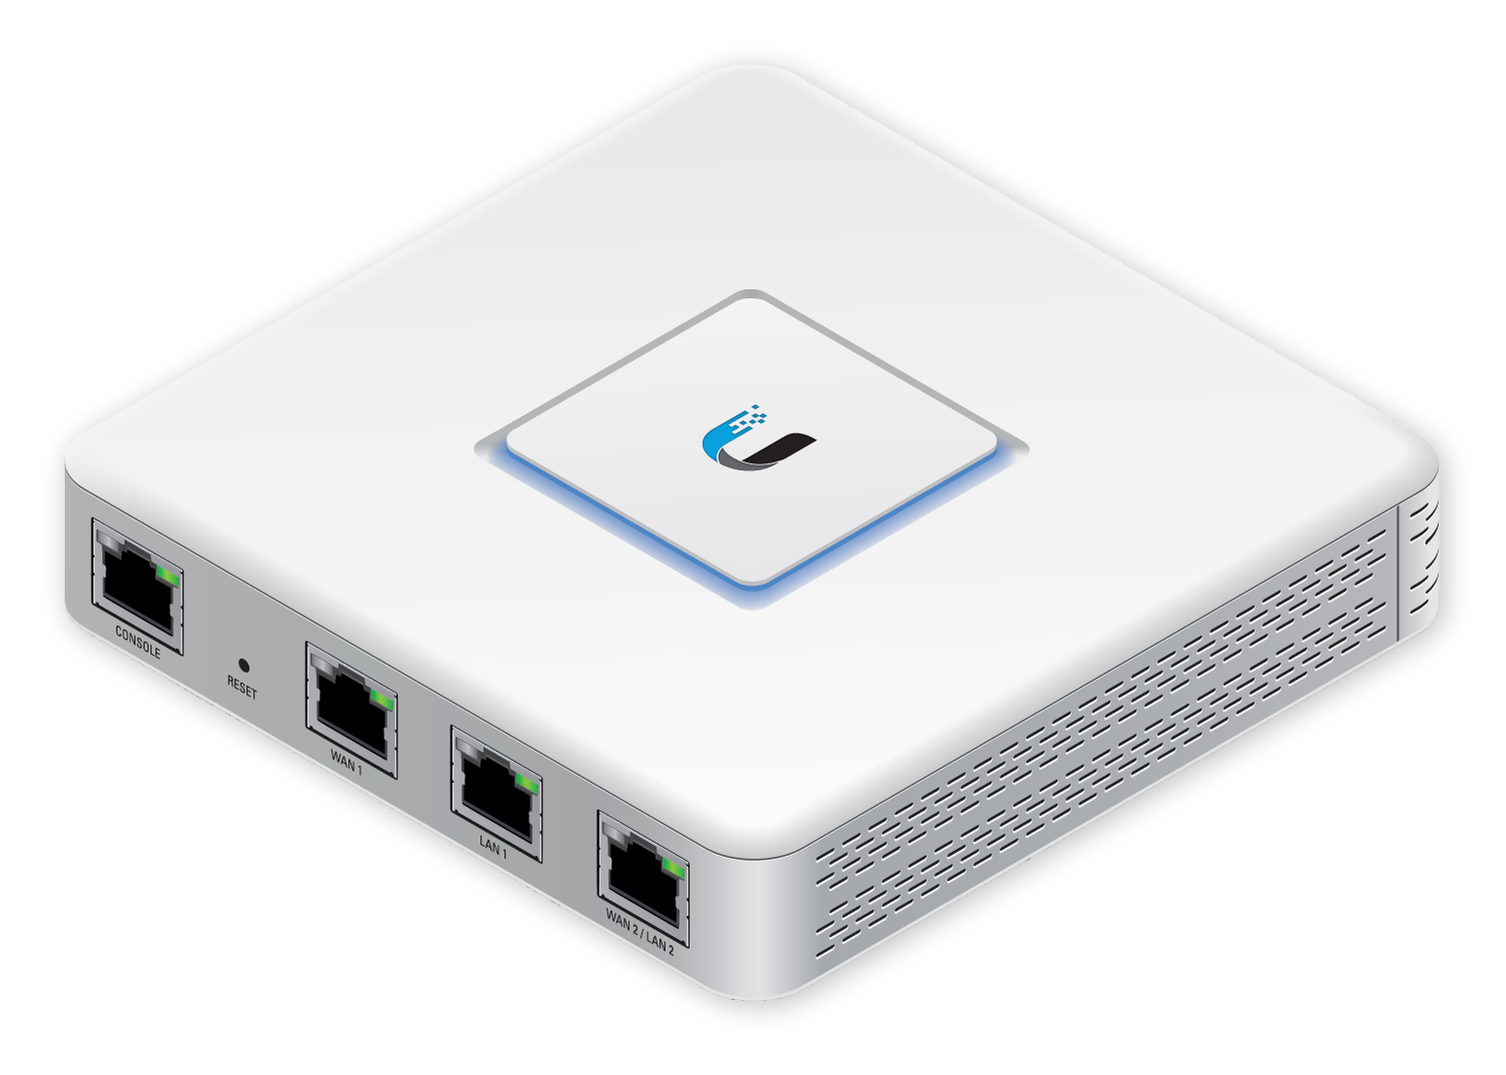
For this guide, I’m going to set up the UniFi Security Gateway. This router provides an advanced firewall, VLAN support, and so much more.
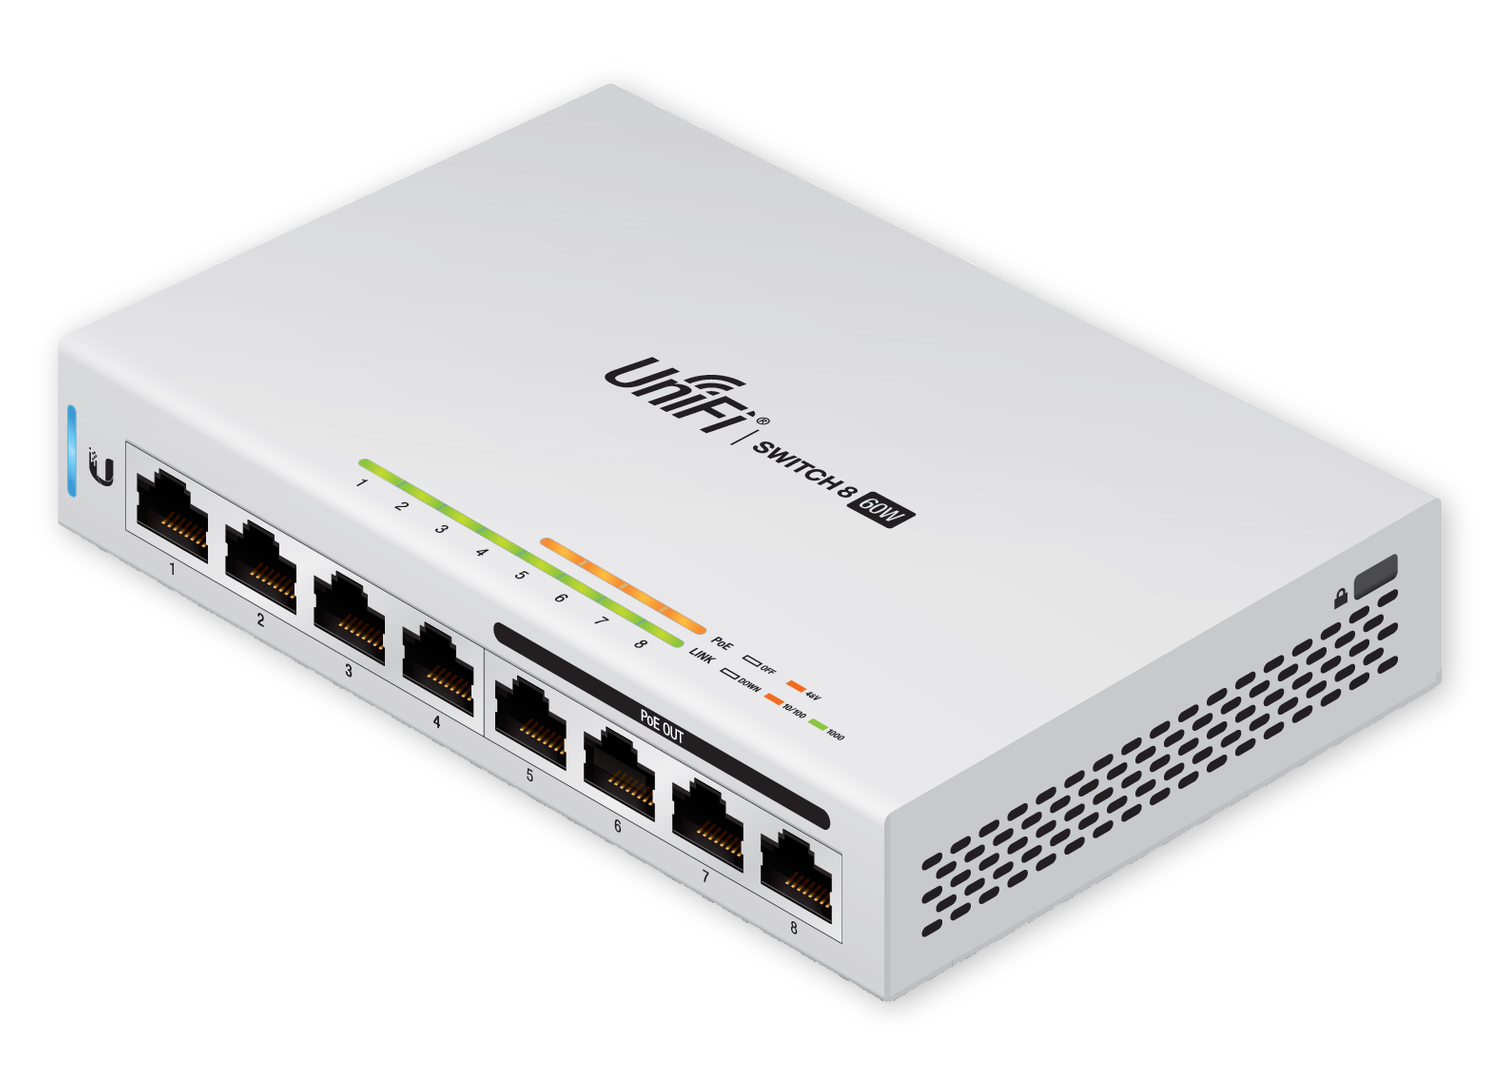
Then, I’m going to connect it to the UniFi Switch 8 60W, so I can connect other devices hardwired and also the access point. This switch comes with 4 Gigabit ports and 4 802.3af PoE ports, allowing to power the access point via Ethernet.
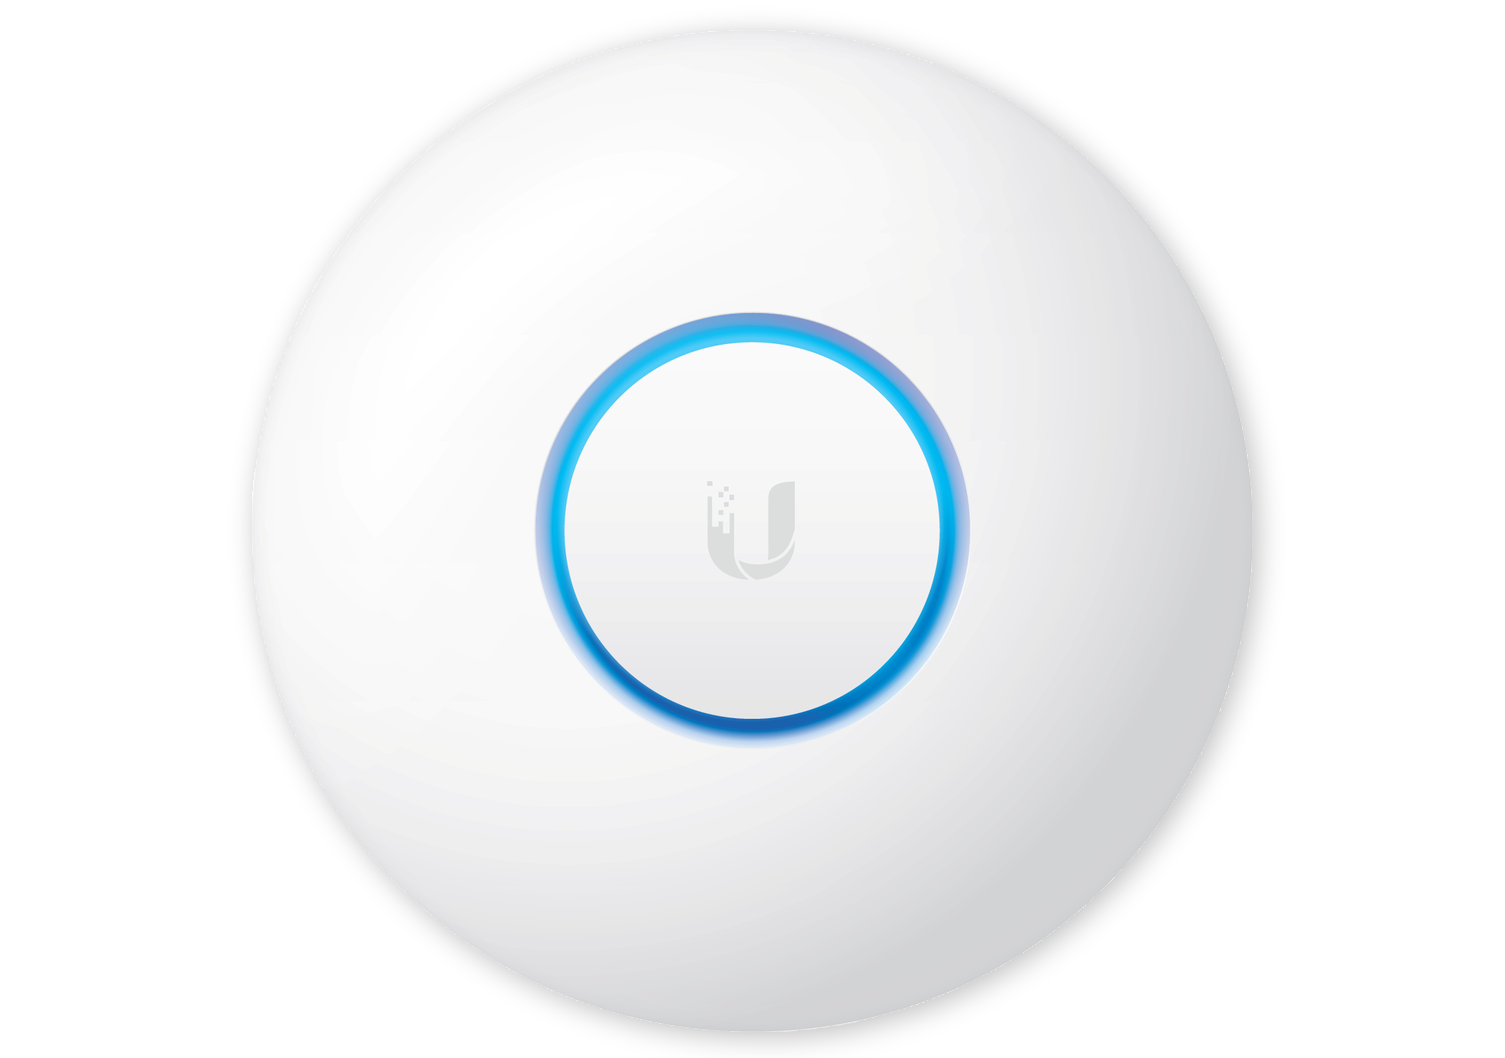
For WiFi, I’m installing the UAP-nanoHD. This access point supports MU-MIMO (Multi-User Multiple Input/Multiple Output), which allows processing more signal information to more devices at once. So, it provides faster speeds for devices connected to the 5 GHz network.
Other good options that you can get are the UAP-AC-Light , and the UAP-AC-Pro .
Set up the UniFi Controller
Before connecting the old router (optional), install the UniFi Controller on the Linux machine. So, open the terminal in the Ubuntu server, and first update your packages with the command, sudo apt update
There are a couple of required packages needed. So, install them with the following:
sudo apt install ca-certificates apt-transport-https
Now, add a new source list to be able to download the UniFi controller. So, enter this command:
echo 'deb http://www.ui.com/downloads/unifi/debian stable ubiquiti' | sudo tee /etc/apt/sources.list.d/100-ubnt-unifi.list
After that, add the trusted GPG keys in this location /etc/apt/trusted.gpg.d. You can do it with the following:
sudo wget -O /etc/apt/trusted.gpg.d/unifi-repo.gpg https://dl.ui.com/unifi/unifi-repo.gpg
Before continuing, if you are running Ubuntu 18.04, you would need to run the following commands before installing the UniFi Controller.
sudo apt-key adv --keyserver hkp://keyserver.ubuntu.com:80 --recv 0C49F3730359A14518585931BC711F9BA15703C6
echo "deb http://repo.mongodb.org/apt/ubuntu xenial/mongodb-org/3.4 multiverse" | sudo tee /etc/apt/sources.list.d/mongodb-org-3.4.list
sudo apt update
After that’s done, go ahead and install the UniFi controller with the command:
sudo apt install unifi
Connect UniFi equipment
All right, so the UniFi Controller is ready to go. Now, disconnect the old router and connect the new Ubiquiti equipment.
Connect the main Ethernet cable that comes from your ISP modem to the WAN port on the USG router. Then, connect another Ethernet cable to LAN 1 and the other end of the cable to port 1 on the PoE switch. After that, connect the access point to one of the PoE out ports so it can get data and power at the same time. The computer and server will be connected hardwired so, they’ll be on ports 3 and 4. Lastly, power the USG and then the PoE switch and give it a couple of minutes for all 3 devices to start.
Wait for the status LED to turn solid white on all 3 devices to start the configuration via the UniFi Controller. Even though the system is not configured yet, the hardwired devices will have Internet access.
If you are using a headless machine (no monitor connected), you need to check what IP the server is getting to access the UniFi Controller. On another computer, you can run the command arp -a via the terminal. This command list all devices connected to the network and provides the IP address that is getting. As long as you know the MAC address for your devices, you’ll be able to verify what IP address the server is getting.
Once you have the IP address, open the browser and type, https:// then, the IP address for your server, and port 8443.
https://192.168.XX.X:8443
An alert pops up, stating that the connection is not private. The reason for that is because there is no SSL certificate installed. So just click on Advanced and then Proceed.
Initial configuration
In the initial set up, the first step gives the option to name the UniFi Controller and also to restore the setup from a backup.
The next step is to sign in to the Ubiquiti account so you can access the Controller via the unifi.ui.com cloud service. This allows managing the controller via the mobile app from anywhere without opening any ports or have a static IP. You can create an account here .
For step 3, disable Automatically optimize my network. So you can have control of the settings to improve the WiFi and network performance. The option, Enable auto Backup, leave it on. So, the UniFi Controller creates backups of your configuration. We’ll configure auto backups more towards the end.
Next step, set up a WiFi name and password. Make sure that the option, Combine 2 GHz and 5 GHz WiFi networks is turned off. So, devices don’t switch between the 2 frequencies. You want them to either connect to the 2.4 GHz or the 5 GHz network.
In Step 5, the UniFi Controller automatically finds the Ubiquiti equipment on the network, making it simple to configure. Select all the devices and click on Next.
For the final step, just verify all the settings and then click on Finish. Give it like a minute for the Controller to complete the configuration, and then it would be ready to go.
Set up IP address range and DNS
After completing the initial configuration, you can start tweaking other settings via the UniFi Controller. To start, let’s set a specific IP range in the network and configure the DNS.
Go into Settings, Network, under WAN, click on Edit, and enter the DNS Servers that you’d like to use. Example, Cloudflare DNS servers 1.1.1.1 and 1.0.0.1. Save the changes, then under LAN, click on Edit, and Change the Gateway. After that, click on Update DHCP Range, and you can modify the starting and ending point of the DHCP range to whatever you’d like.
Next, under DHCP Name Server, change it from Auto to Manual. For the first DNS server, enter the USG router’s IP address, so it uses the primary DNS server that was set up before. For the secondary DNS, we can enter another DNS as a backup. For example, the Google DNS 8.8.8.8 or 8.8.4.4.
Lastly, click on Save and give it a few seconds for the USG router to apply the changes.
Because the DHCP range changed, the Linux server is going to get a new IP address. So, as we did earlier, open the terminal and run the command arp -a to find the new IP. Then, go back into the browser and use the new IP address to access the UniFi Controller again.
Assign static IPs to network devices and clients
Next, let’s go ahead and assign a static IP address to the network devices and also the connected clients. In addition to that, you can also set up an alias to the network devices. Making it easier to identify the devices and their location. So, for example, if you have several switches and access points, you can give them names like upstairs WiFi, garage switch. Things like that.
Network Devices
Go into the Devices tab and click, for example, on the switch to open the settings. Then, click on the Config icon and under general, enter the name you would like for that device. Click on Apply, and after that, go to Network and change the option from Using DHCP to Static IP.
Enter the new static IP address. Under Network Mask, enter 255.255.255.0. Making it a class C subnet mask, which gives a total of 254 usable IP addresses. For the Gateway, enter the USG router’s IP address. The Preferred DNS, enter the router’s IP address as well, so it uses the Cloudflare DNS that we set up earlier. For the Alternate DNS, we can enter the Google DNS as a backup. Lastly, click on Queue Changes and then Apply Changes. You can then do the same thing to the access point. Keeping the same subnet mask, gateway, and DNS settings.
Connected Client
To set up a static IP address, a name, and even an icon to the connected devices, go into the Clients tab, select a device and under Device Fingerprint, click on Find Icon. Then, search for the icon that you would like for that device.
After that, click on the Config icon and under General, set up an alias. Save the changes, then go to Network and enable Use Fixed IP address. Enter the assigned IP address that you would like for the device and then save the changes.
Wireless settings - MAC filtering
In the initial set up, we configured the WiFi name and password. We also selected the option to Combine 2 GHz and 5 GHz WiFi networks. However, there was no option to name the 2.4 GHz SSID. The UniFi Controller automatically added to the 2,4 GHz WiFi name the suffix _IoT. You can change this and manage other settings by going into Settings, Wireless Networks, and under the current WiFi, click on Edit. Then, under Name/SSID 2G suffix, enter whatever you would like the suffix to be.
The other thing that I like to set up in the wireless network is MAC Filtering. You can whitelist the MAC addresses for the devices that you want to allow access to the network. If a device tries to connect to the WiFi, but it’s MAC address is not whitelisted, even though it enters the correct WiFi password, it would be denied access to the network.
To set it up, go to MAC Filter, click on Enable, and then under Policy select Whitelist. Then, enter the MAC address for all the devices allowed to connect to the wireless connection. When finished, click on Save to apply the changes.
NOTE
There are a few more settings that you can set up for the wireless, for example, setting up a WiFi connection to use a specific VLAN. Whether if you want the SSID to broadcast or not. We would go over those settings in part 2 of this series, where I will show you how to set up VLANs and firewall rules. So, definitely stay tuned for that.Backup/Restore the UniFi Controller
When finished configuring the network, the last thing that you want to do is create a backup of the UniFi controller. So, if something ever goes wrong, you can restore the configuration using that backup. Instead of having to redo everything from scratch.
To create a new backup, go to Settings, and then, Backup. At the initial setup, we did enable Auto Backup. By default, it is set to automatically create a new backup on the first of every month at 12:00 am. And the Data Retention is set to 30 days.
You can customize how often you want to create the backups and also how many days you want the Data retention to be.
Because the network was just set up, manually create a backup and save it to this machine. You can select if you want to only backup the UniFi controller settings or all the data for a different amount of days. For this first backup, just choose to backup the settings only and then download the file.
If you want to restore the settings from a backup saved on your computer, click on Upload File and select the backup that you want to restore.
When the network has been running for a while, you would notice that backups created automatically, would be available below. You can then select if you want to Restore, Download, or Delete a specific backup.
I hope this article helps you get started with the UniFi Controller and the UniFi equipment. As I mentioned earlier, part 2 of this series will be about VLANs and firewall rules, so definitely stay tuned for that.
Support
As a solo creator, I dedicate my free time to maintaining this site. If you find my content useful, consider supporting the blog—every contribution helps keep the content coming.
Buy me a coffee